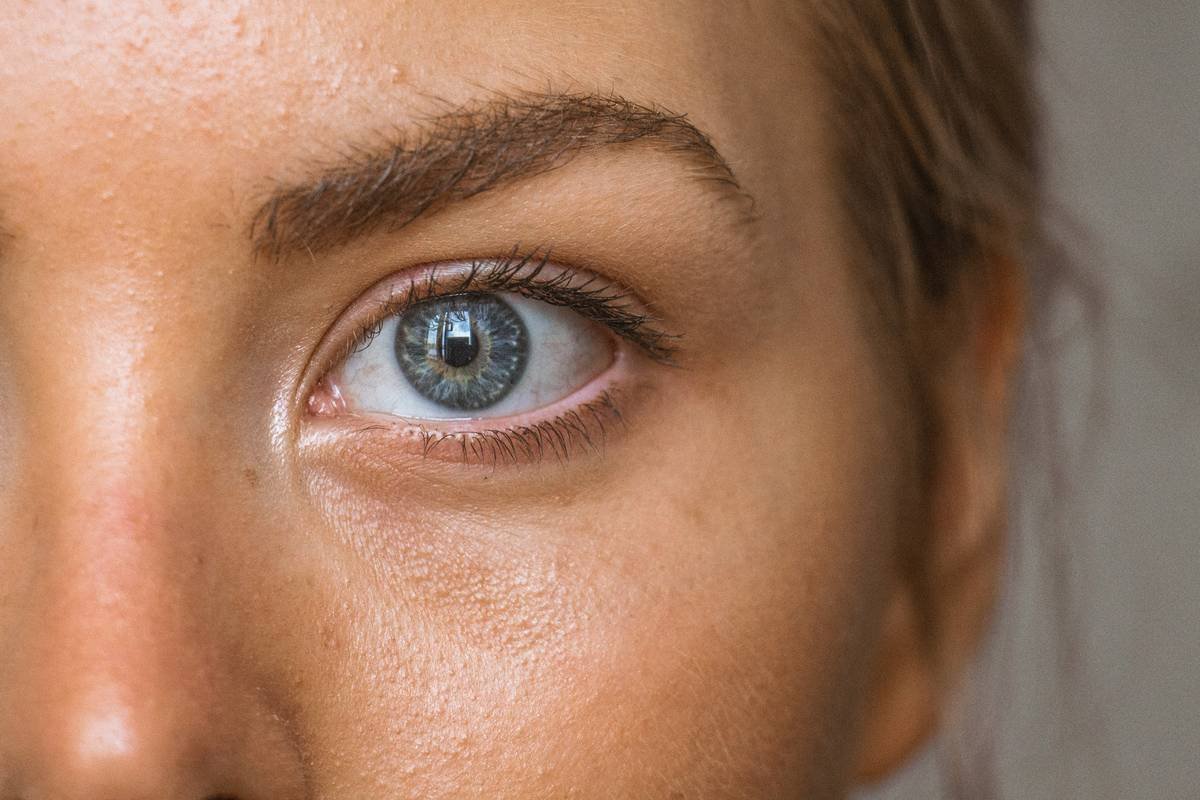
Thin, patchy brows steal definition from your entire face. Pencils smudge by noon. Gels flake or stiffen hairs into unnatural spikes. Powders? Often too ashy or vanish within hours. You’re left looking like you tried—and failed. But what if one product could mimic real brow hair, stay put all day, and actually enhance—not mask—your natural shape? Enter the tinted brow enhancer.
The Core Problem: Why Traditional Brow Fillers Fall Short
Most people treat brows like an afterthought—grab a pencil, scribble, and call it done. Bad idea. Pencils deposit waxy pigment that sits *on* the skin, not *in* the hair follicles. The result? Harsh lines that scream “drawn-on.” Clear gels offer hold but zero color correction. Even high-end pomades can look heavy under sunlight.
And let’s be honest—your brows aren’t just about fullness. They frame your eyes, guide symmetry, and subtly signal youthfulness. A poorly executed fill does more damage than bare brows.
How to Master the Tinted Brow Enhancer: A Step-by-Step Ritual
This isn’t makeup. It’s micro-enhancement. Done right, no one notices you’re wearing anything—just that your brows look effortlessly perfect.
Selecting Your Ideal Shade
Go one shade lighter than your natural brow hair—not your scalp color. Darker tones read harsh in daylight. If you’re between shades, test on your wrist first. Natural light is non-negotiable.
Tool Matters More Than You Think
Ditch the spoolie for application. Use a flat, angled brush with synthetic bristles. Natural fibers absorb product unevenly. Press—not swipe—the powder into sparse zones. Build density gradually.
Set Strategically (Not Aggressively)
A light mist of setting spray locks pigment without dissolving it. Heavy-handed gels pull color away. Less is more.
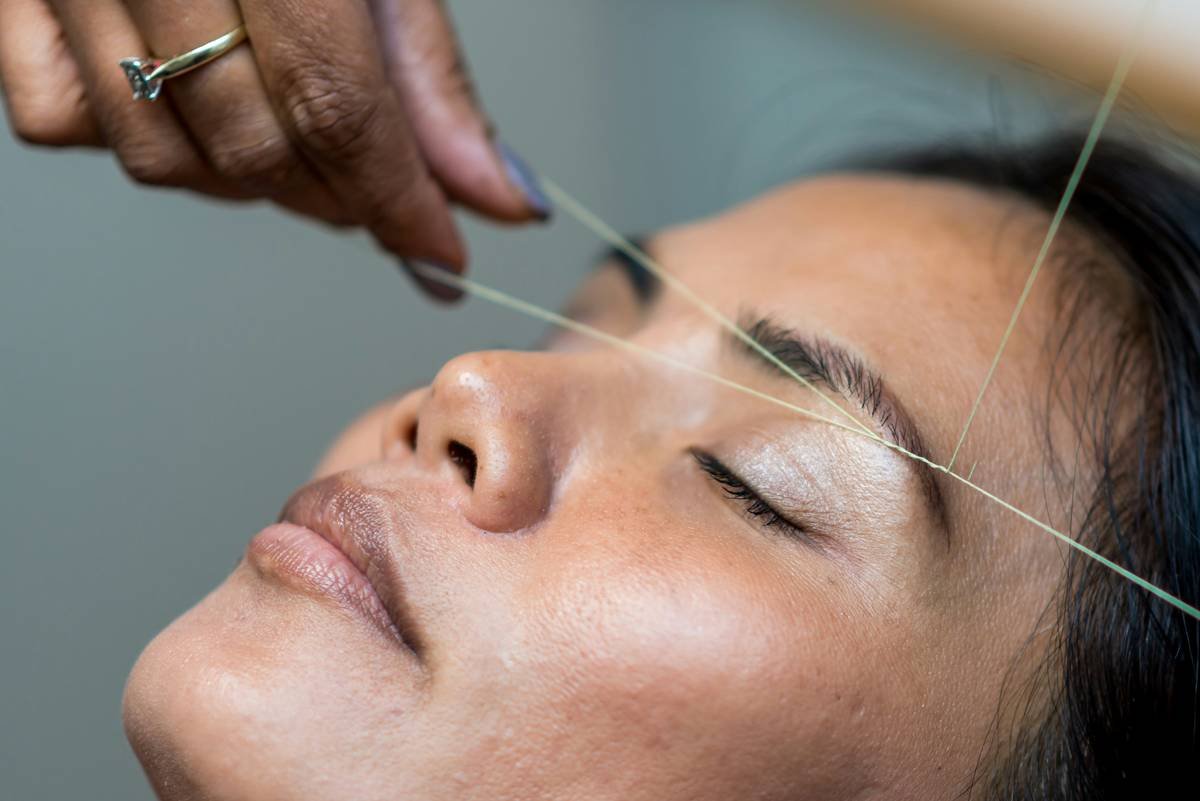
| Method | Longevity | Natural Finish? | Best For |
|---|---|---|---|
| Pencil | 4–6 hours | No — waxy, linear | Creating sharp arches (not filling) |
| Gel (tinted) | 6–8 hours | Sometimes — can clump | Adding hold + slight tint |
| Tinted Brow Enhancer (powder) | 10–12+ hours | Yes — mimics hair texture | Filling gaps without heaviness |
| Microblading (semi-permanent) | 1–2 years | Initially yes — fades unevenly | Those committed to maintenance |
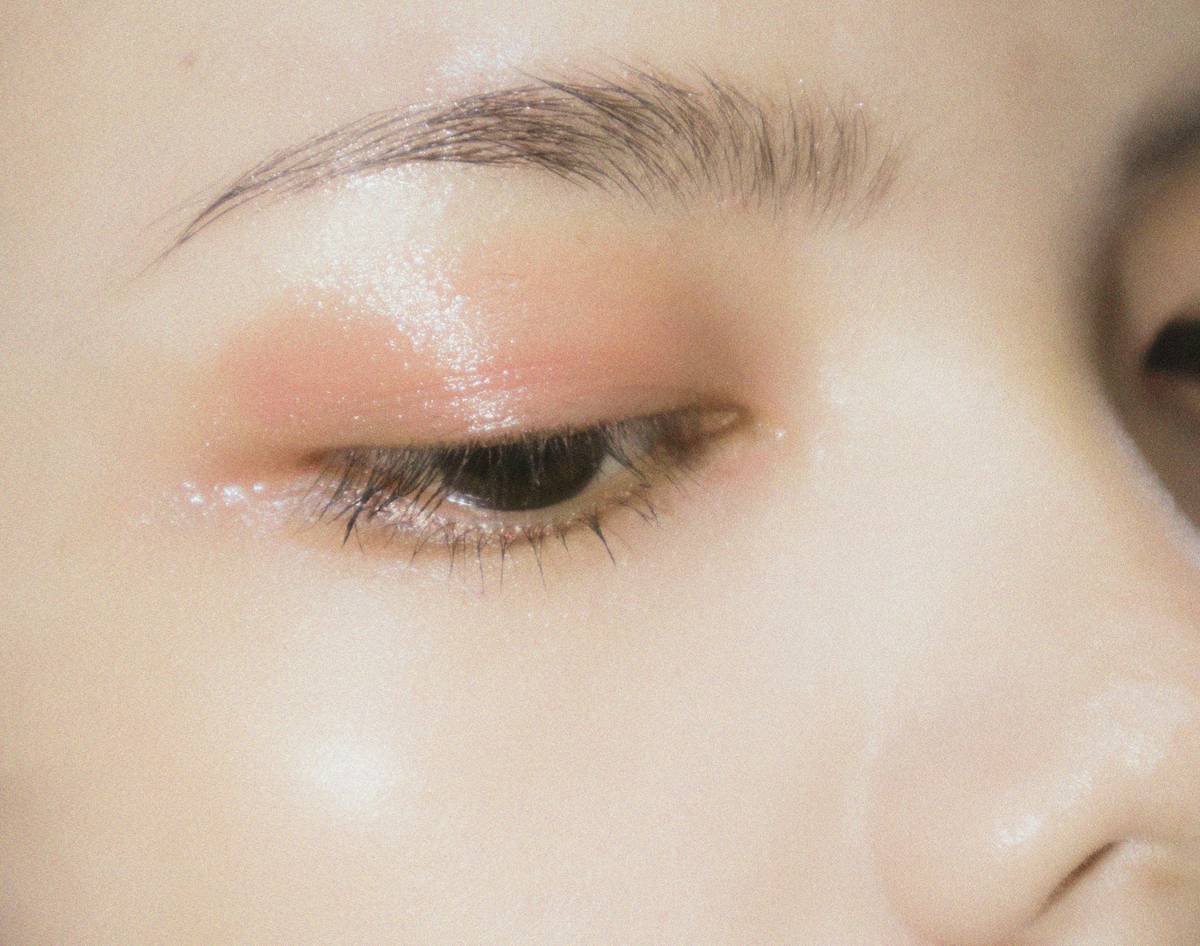
The Industry Secret: Why Makeup Artists Keep Powder-Based Enhancers Hidden
Here’s what no brand will admit: most “brow pomades” sold online contain silicone-heavy bases that oxidize on oily skin—turning orange or gray by afternoon. Pros avoid them for photo shoots. Instead, they reach for matte-finish, talc-free tinted powders originally designed for theatrical use. These sit invisibly on skin, resist sweat, and—critically—don’t migrate into fine lines around the eyes. The math is simple: fewer ingredients = longer wear + truer color. That’s why seasoned MUAs often decant loose mineral pigments into custom palettes labeled only with codes like “TB-03.” It’s not magic—it’s material science.
Frequently Asked Questions
Is a tinted brow enhancer better than a pencil?
For filling sparse areas—yes. Pencils draw lines; enhancers diffuse color like real hair. Better for soft, natural volume.
Can I use it if I have oily skin?
Absolutely—if it’s oil-free and set properly. Avoid creamy formulas. Powder-based enhancers actually absorb excess sebum.
How often should I replace it?
Every 12–18 months. Bacteria builds up in compacts, especially if you dip a wet brush. Discard if smell or texture changes.