Thin, patchy brows? You’ve probably swiped on a brow pencil or dabbed on tinted gel—again and again—only to watch it vanish by noon. The frustration is real. But the real issue isn’t your brows. It’s that you’re using the wrong tool for the job. Enter the brow filling agent: underrated, misunderstood, and wildly effective—if you know how to use it.
Why Pencils, Gels, and Tints Keep Failing You
Raised strokes from pencils create harsh, drawn-on lines—not natural hair. Gels promise hold but flake or stiffen into helmet brows. Tinted fibers? They clump or fall off before lunch. These tools mimic fullness poorly because they don’t address the core problem: **texture deficit**. Real brows have dimension—light hitting fine hairs at different angles. Flat color = flat results.
And most people layer product over sparse areas without prepping the skin. Oily lids? Dry patches? Your formula slides or cakes. No wonder you feel like you’re fighting your own face.
How to Use a Brow Filling Agent Like a Pro
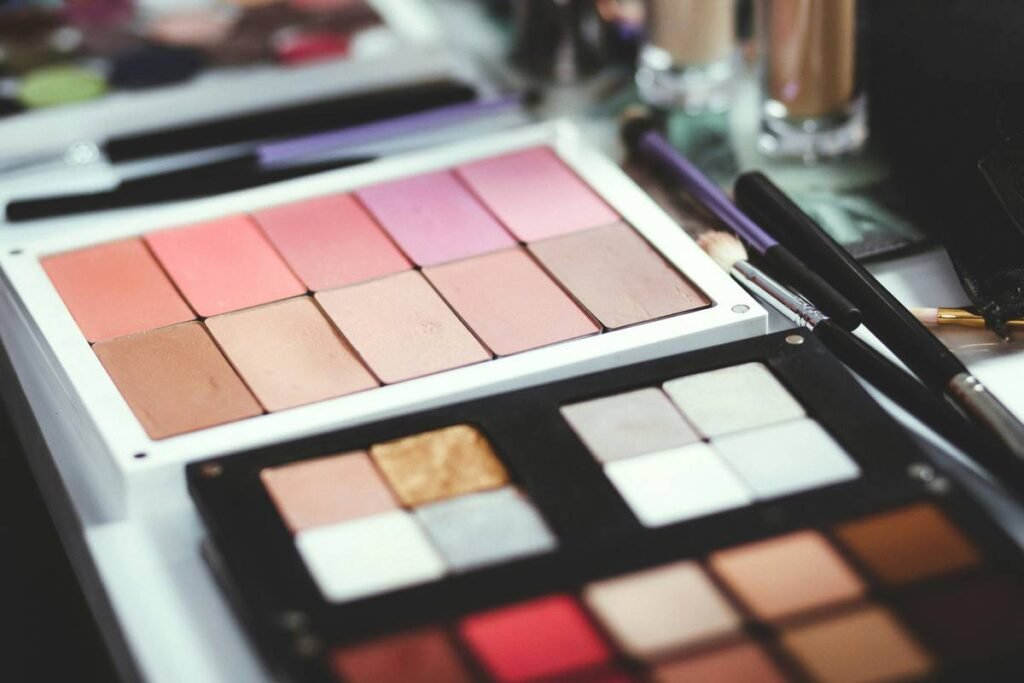
A true brow filling agent—typically a finely milled powder with matte finish and buildable pigment—works with your existing hairs, not against them. Here’s the exact method used in editorial makeup kits:
Step 1: Brush & Bare
Start with clean, dry brows. Use a spoolie to lift hairs upward. Then—counterintuitively—lightly dust translucent powder over the brow area. This mattifies oils and creates grip. Skip this, and your pigment creeps.
Step 2: Choose Your Shade Like a Colorist
Go one to two shades lighter than your root color. Dark powder on sparse brows reads as shadow—not hair. Blondes? Reach for taupe, not beige. Brunettes? Ash brown beats chocolate. Redheads? Cool taupe with a hint of rust.
Step 3: Stipple, Don’t Stroke
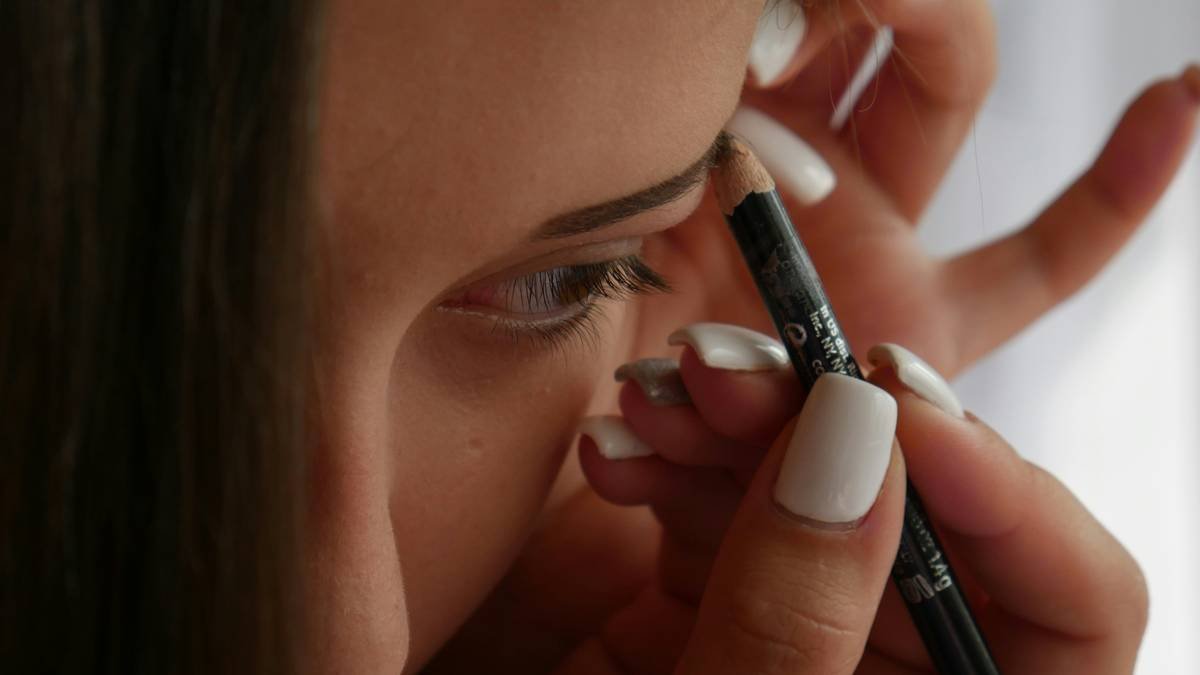
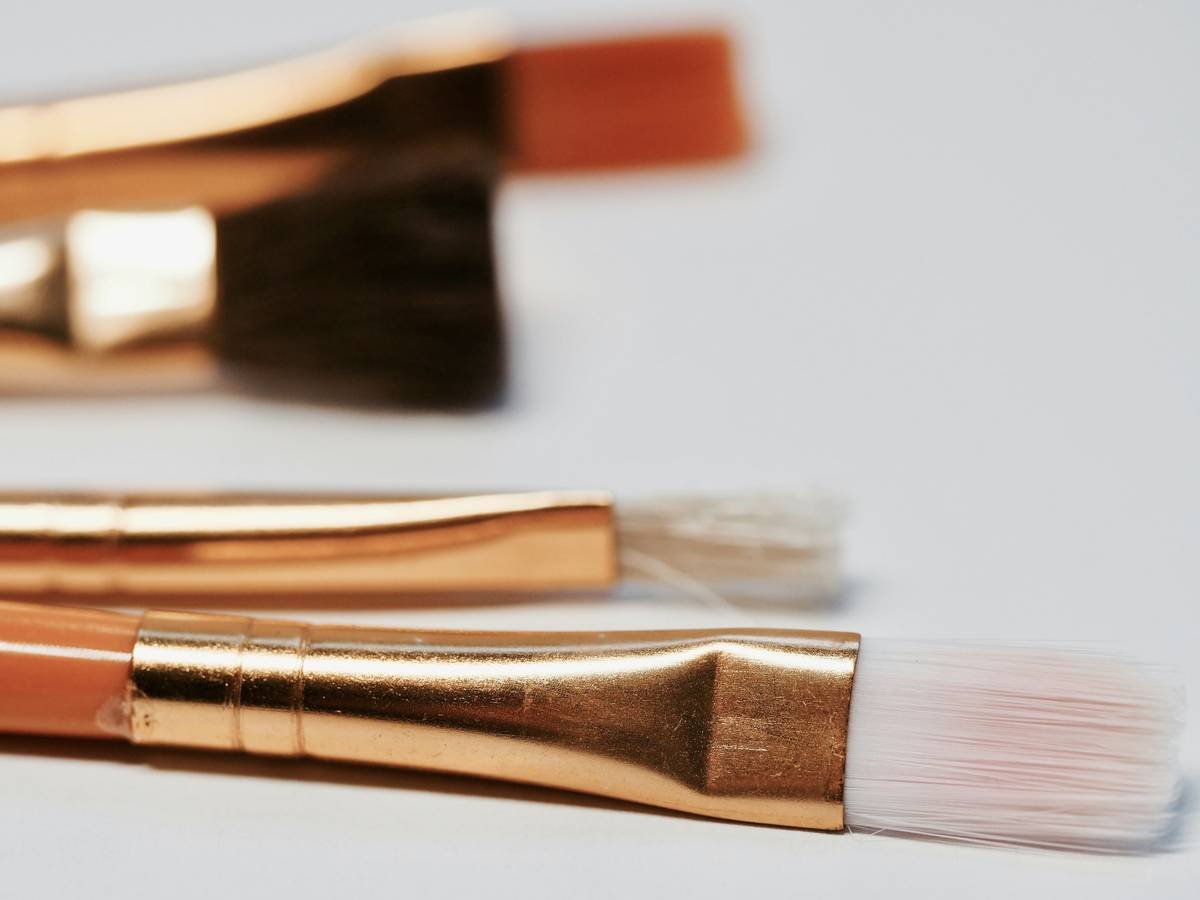
Dip an angled brush lightly into your brow filling agent. Tap off excess. Then use tiny tapping motions—like stippling paint—to fill gaps. Build slowly. The goal: soft diffusion, not precision lines. Real brows aren’t outlined.
Comparison: Brow Filling Methods Side-by-Side
| Method | Longevity | Natural Finish? | Beginner-Friendly? | Avg. Cost (USD) |
|---|---|---|---|---|
| Brow Pencil | 4–6 hours | No – often waxy or sharp | Yes | $8–$22 |
| Tinted Gel | 5–7 hours | Sometimes – can look wet or stiff | Very | $10–$28 |
| Brow Filling Agent (Powder) | 8–12 hours | Yes – diffused, hair-like texture | Moderate (requires light hand) | $12–$30 |
| Microblading (Semi-Permanent) | 12–18 months | Depends on artist | No – invasive | $400–$800 |
The Industry Secret No One Talks About
Top makeup artists rarely use “brow powder” alone. Here’s what they actually do: mix a pinch of their client’s foundation or setting powder into the brow filling agent. Why? It neutralizes overly warm or ashy undertones and perfectly matches the skin’s base tone beneath sparse areas. The result? Seamless integration—no floating color blocks. Try it with your everyday compact. You’ll wonder why no tutorial ever mentioned it.
And pro tip: store your powder in a mini jar with a tight lid. Humidity turns pressed powders muddy. Loose stays truer longer.
Frequently Asked Questions
Is a brow filling agent better than a pencil?
For natural, soft-focus brows—yes. Pencils excel at defining shape; powders mimic hair density. Use both if needed, but lead with powder.
Can I use eyeshadow as a brow filling agent?
Only if it’s matte, finely milled, and matches precisely. Shimmery or chunky shadows look unnatural. Dedicated formulas have better adhesion and pigment control.
How do I stop my brow powder from smudging?
Set with clear brow gel or a light mist of setting spray held 12 inches away. Avoid heavy application—less is more with powders.