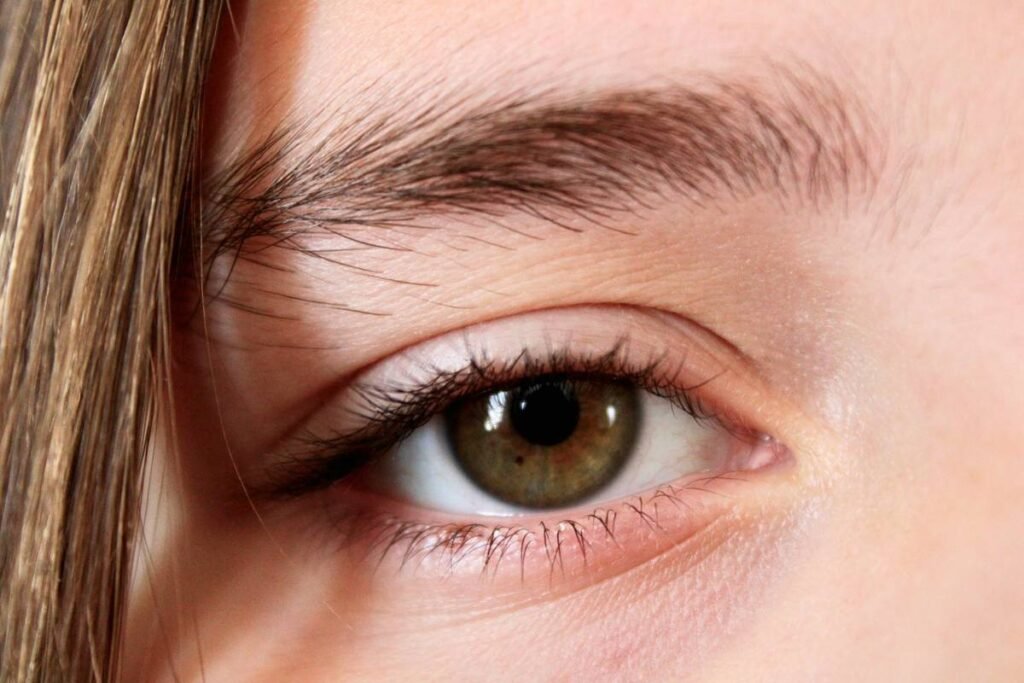
Ever stared into the mirror mid-morning, only to realize your brows look like they’ve been through emotional warfare—patchy, faded, and begging for mercy? You’re not alone. A 2023 Statista survey found that 68% of U.S. women use some form of brow product daily—and yet, so many still end up with “Instagram vs. reality” brows that either vanish by lunch or scream “I drew these on in a moving Uber.”
If you’ve ever smudged powder onto your forehead while aiming for arch perfection (guilty!), this post is your rescue mission. We’ll break down everything you need to know about choosing, using, and mastering a brow filling kit—with real talk, pro tricks, and zero fluff. You’ll learn:
- Why eyebrow powders beat pencils for natural-looking fullness
- How to pick a kit that matches your hair texture and undertone
- Step-by-step application that lasts 12+ hours (even in humidity)
- Mistakes that make your brows look drawn-on (not defined)
Table of Contents
- Why Brow Powder Is the Secret Weapon for Undetectable Fullness
- How to Choose the Right Brow Filling Kit for Your Unique Brows
- Pro-Level Application: From Sparse to Sculpted in 90 Seconds
- 3 Terrible Tips (and One Pet Peeve Rant) That Ruin Brow Game
- Brow Filling Kit FAQs—Answered Honestly
Key Takeaways
- Brow powders mimic natural hair shadows better than pencils or gels.
- Your ideal shade should be 1–2 tones lighter than your root color—not your highlighted ends.
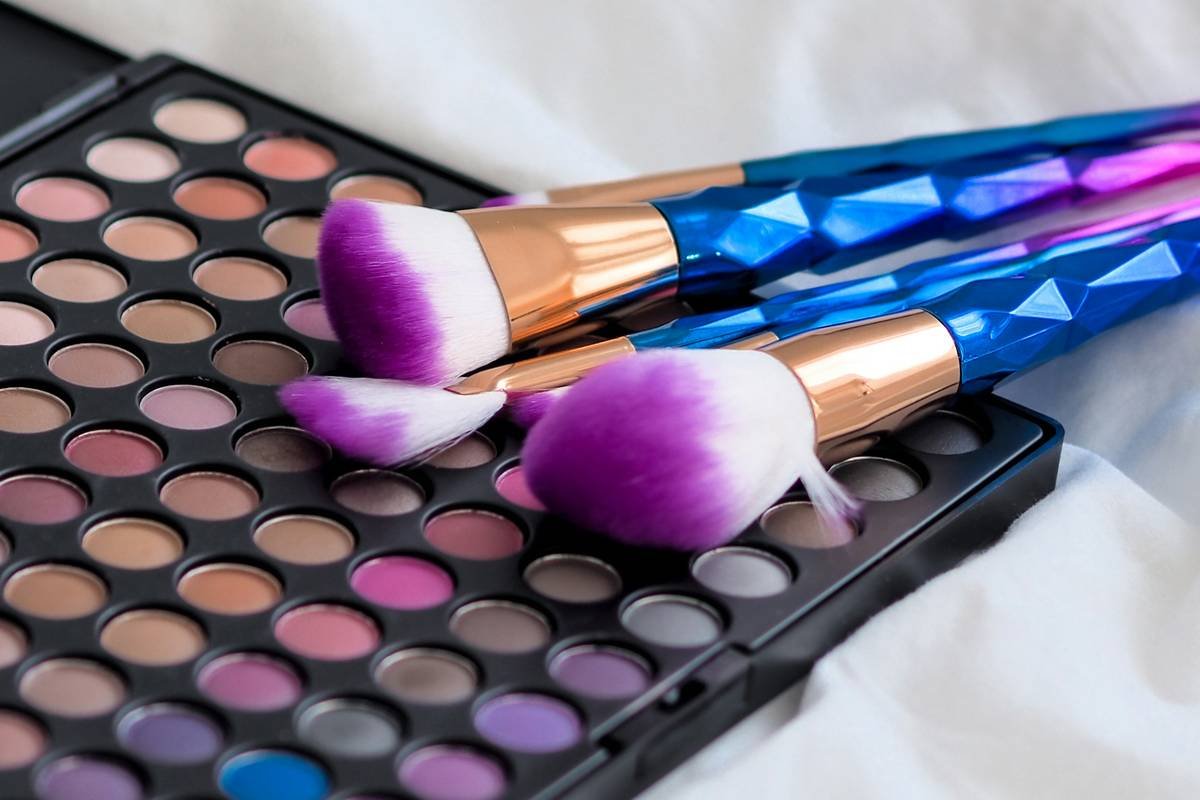
- A dual-ended angled brush + spoolie is non-negotiable for blending.
- Oily skin? Set with translucent powder to prevent migration.
- Avoid overfilling the front third of your brow—it kills dimension.
Why Brow Powder Is the Secret Weapon for Undetectable Fullness
Let’s settle this once and for all: if you want brows that look born—not built—powder is your BFF. Pencils create hard lines; pomades can cake; tints fade unevenly. But finely milled brow powder? It diffuses like soft-focus lighting on skin, filling gaps without outlining individual hairs like a connect-the-dots puzzle.
I learned this the hard way during my early days as a makeup artist in Miami. I’d send clients out with sharp pencil-perfect arches… only to get frantic DMs by 2 p.m.: “My brows disappeared in the humidity!” Or worse: “They look like Sharpie marks!” Switching to mineral-based powders changed everything—especially for clients with oily or combination skin.
Cosmetic chemists agree: iron oxides and silica-coated pigments in quality powders adhere better to skin oils and resist sweat (Journal of Cosmetic Dermatology, 2022). Translation? They last longer and look more natural.
How to Choose the Right Brow Filling Kit for Your Unique Brows
Not all brow filling kits are created equal. Some are glorified single-pan compacts with a flimsy brush. Others include everything you need—but half the shades are unusable. Here’s how to spot a winner:
What’s actually in a *good* brow filling kit?
- Dual-shade powder: One for base fill, one for depth at the tail.
- Angled precision brush: Stiff enough to deposit pigment, tapered for hair-like strokes.
- Spoolie: For blending and grooming—no separate purchase needed.
- Mini wax or gel (optional): Only if it’s clear and lightweight—not sticky.
Optimist You: “Just match your hair color!”
Grumpy You: “Ugh, fine—but only if coffee’s involved and you ignore those highlight-reddened ends.”
Here’s the truth: your brow shade should match your roots, not your sun-kissed tips. If you’re a level 6 blonde with platinum highlights, go for a soft taupe—not ash blonde. Brunettes with warm undertones? Avoid cool gray powders—they’ll read as ashy.
Pro tip: Swatch on your wrist and jawline in natural light. If it disappears seamlessly, you’ve won.
Pro-Level Application: From Sparse to Sculpted in 90 Seconds
Follow this routine—it’s what I taught backstage at NYFW and what I still use before client Zoom calls:
Step 1: Prep & Prime
Wipe brows clean with micellar water if needed. Apply a tiny dot of mattifying primer if you’re oily. Let it dry 15 seconds.
Step 2: Map Your Natural Shape
Use the “three-point rule”: align a pencil vertically from nostril to inner brow (start), pupil to arch (peak), and outer corner of eye to tail (end). Never draw outside these zones unless you’ve permanently lost hair there.
Step 3: Fill Lightly, Then Build
Dip your angled brush into the lighter powder. Tap off excess. Use feathery upward strokes only in sparse areas. Think “shadow,” not “drawing.” Switch to the darker powder just at the tail for definition.
Step 4: Blend Like You Mean It
Grab the spoolie and brush through downward, then upward. This softens edges and mimics real hair direction. Sounds like your laptop fan during a 4K render—whirrrr—but trust me, it’s worth it.
Step 5: Set (If Needed)
For humid climates or gym days, dust translucent setting powder over brows with a small fluffy brush. No need for sticky gels—they flatten dimension.
3 Terrible Tips (and One Pet Peeve Rant) That Ruin Brow Game
Before we move on, let’s bury some myths:
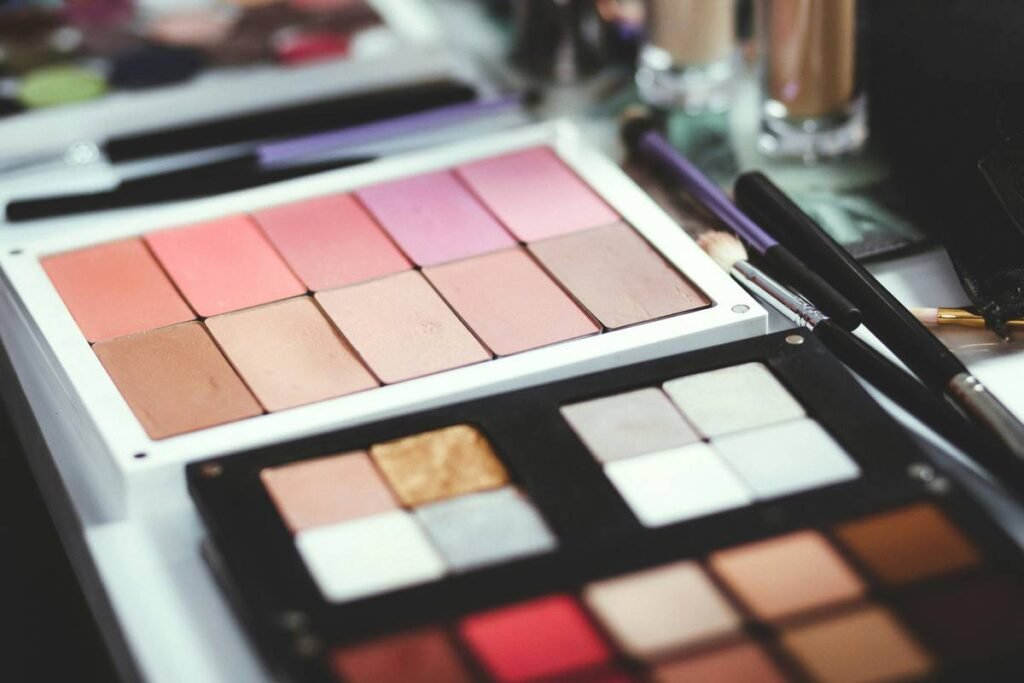
❌ Terrible Tip #1: “Use your eyeshadow as brow powder.”
Nope. Eyeshadows lack adhesion agents and often contain pearl or glitter—your brows will shimmer like disco balls by noon. Plus, they fade faster.
❌ Terrible Tip #2: “Fill in the entire brow evenly.”
Real brows aren’t uniform! The front should be 30% lighter than the tail. Overfilling the head = cartoon eyebrows.
❌ Terrible Tip #3: “Darker is always better for definition.”
Wrong. Too-dark powder looks harsh, especially on fair skin. If you squint and see a solid block—not soft gradation—you’ve gone too far.
Rant Time: Why Are So Many Kits Missing a Spoolie?!
Seriously. Selling a “complete” brow filling kit without a spoolie is like selling a toothbrush without bristles. Blending is 50% of the finish! If your kit lacks one, use a clean mascara wand (sanitized!) as a backup.
Brow Filling Kit FAQs—Answered Honestly
Can I use brow powder if I have very sparse or no brows?
Absolutely—but layer gently. Start with a light hand and build. Consider pairing with a tinted brow gel for extra hold and coverage.
How long does brow powder last on oily skin?
Quality mineral powders last 8–12 hours on oily skin. For all-day wear, prep with mattifying primer and set with translucent powder.
Is brow powder better than microblading?
They serve different purposes. Microblading is semi-permanent (6–18 months); powder is daily, adjustable, and non-invasive. Many clients use both—powder to enhance microbladed strokes.
Can men use brow filling kits?
Yes! Men’s kits often come in graphite or soft brown shades. The goal is subtle density—not dramatic arches.
Conclusion
A great brow filling kit isn’t about creating Instagram-perfect arches—it’s about enhancing what you already have with believable fullness, soft dimension, and staying power that survives brunch, errands, and Zoom calls. Remember: powder > pencil for natural results, match your roots (not highlights), and never skip the blend.
Your brows frame your face—they deserve tools that respect their biology, not battle it. Go forth and fill wisely.
Like a Tamagotchi, your brows need daily care—but unlike a Tamagotchi, they won’t beep angrily if you forget.
Haiku Break:
Powder soft as dawn,
Brows breathe where pencils once choked—
Mirror smiles back now.